How To Make Farmhouse Mason Jar Pumpkins
by Esme Addison
Being from the south, I really did grow up with Mason jars in the home. Ironically, they were never used for canning. Rather they were used for holding beverages, flowers or making crafts.

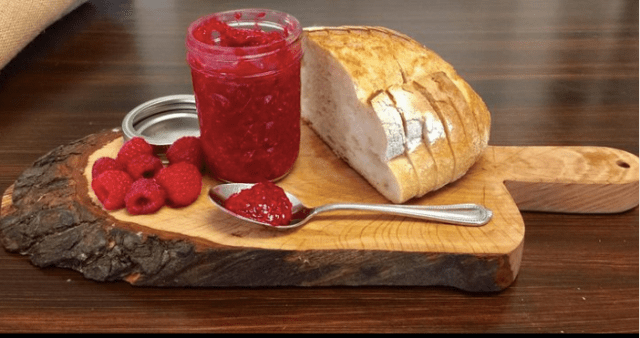
The one time I did some canning, various fruit jams, I went out and bought these cute miniature Mason jar pics to use, because the ones I already had were too big
(That’s a pic from my Instagram account sharing the raspberry jam I made, and the cute tiny little Mason jar I used.)
But I love to find creative ways to use Mason jars. They just scream southern, don’t they? Old timey. Rustic. Whatever it is, I like the esthetic.
So, when I discovered Lizzy and Erin Flawed to Perfection’s Youtube channel, I knew I had to share these with you all. When I made these, I brushed the chalk paint on – not sprayed- as in the video. But you can do what you like!
Tell me how it works out in comments. Or share your pics with me on Instagram @EsmeAddison.
You’ll Need:
- Mason jar with lid.
- Orange and green chalk and acrylic paint
- Leaf, stem, foliage (fake, silk, plastic, real)
- Twine
- Paint brush
- Hot glue gun
- Glue
- Twine or jute ribbon
- Wine cork
Instructions
1. First, clean mason jars and dry thoroughly. Remove the lids and set aside.
2. Choose one jar to be your dark orange pumpkin. Use Americana Decor Chalky Paint in “Heritage” to coat the surface of this jar, leaving the rim unpainted so you’ll be able to put the lid back on later. Apply two coats if needed, to achieve an even color.
3. Select another jar to be your light orange pumpkin. For this color, mix equal amounts of Americana Decor Chalky Paint in “Heritage” (orange) and “Lace” (white), then paint the surface of the mason jar. Be sure to leave the top rimmed section unpainted.
4. Use the remaining mason jar for your white pumpkin. Dip brush in Americana Decor Chalky Paint “Lace” color and coat the entire surface of the jar, except for the rim.
5. Allow jars to dry and apply a second coat of paint if needed.
6. While jars are drying, paint all of the lids with green acrylic craft paint. Allow to dry and add a second coat if needed.
7. Cut a small trimming of the artificial leafy foliage (you can use something like artificial ivy).
8. Heat up hot glue gun and apply a good amount of glue to the bottom of a wine cork. Working quickly and carefully, press the wine cork onto the center of the lid and hold in place until glue is dry.
9. Apply a small line of glue along one side of the base of the wine cork and carefully attach the foliage.
10. Place your lid back on the mason jar.
11. Finally, tie a piece of twine or jute ribbon around the base of the wine cork (we used about 6-8″ of ribbon).
Happy fall crafting!
Header pic courtesy of TheSoccerMomBlog.com


